Securing Your Home Network with a G Router SSL VPN Setup
In today's digital age, online security is a top priority for individuals and businesses alike. A G Router SSL VPN setup is a robust solution to ensure the security and privacy of all devices connected to your home network.
What is a G Router SSL VPN Setup?
A G Router SSL VPN setup is a configuration process that enables a virtual private network (VPN) on your GL.iNet router. This setup allows you to create a secure, encrypted connection between your devices and the internet, ensuring that all your online activities are protected from potential threats.
Why Set Up a G Router SSL VPN?
There are numerous reasons why you should consider setting up a G Router SSL VPN setup on your GL.iNet router:
- Improved online security: By establishing a secure connection between your devices and the internet, you can protect your personal data from hackers and other malicious entities.
- Protected devices: With a G Router SSL VPN setup, all devices connected to your network will be protected from potential threats, including your smartphones, laptops, and smart home devices.
- Access to restricted content: A VPN setup can help you bypass geo-restrictions and access content that is not available in your region.
- Improved productivity: By protecting your devices and online activities, you can stay focused on your work or personal tasks without worrying about online security threats.
- Support for multiple devices: A G Router SSL VPN setup can support an unlimited number of devices, making it an ideal solution for households with multiple users.
Step-by-Step G Router SSL VPN Setup Guide
Setting up a G Router SSL VPN is a straightforward process that requires some technical knowledge. Here's a step-by-step guide to help you get started:
Step 1: Access the Router's Web Interface
Open a web browser and type the IP address of your router in the address bar. The default IP address for a GL.iNet router is usually 192.168.1.1 or 192.168.0.1. Log in to the router using your admin credentials.
OpenVPN is a flexible, reliable, and secure Virtual Private Networking (VPN) solution. It belongs to the family of SSL/TLS VPN stacks (different from IPsec VPNs). This chapter will show how to install and configure OpenVPN to create a VPN. Install the server by running the following command in your terminal:
sudo apt-get update && sudo apt-get install openvpn
After installing OpenVPN, you can configure it to connect to your server. The configuration file for OpenVPN is located at /etc/openvpn/server.conf. This file contains the settings for your OpenVPN server, including the IP address, port, and encryption settings.
Step 2: Configure the VPN Settings
Navigate to the VPN settings on your router and enter the following information:
- Server IP Address: This is the IP address of your VPN server.
- Port: This is the port number that the VPN server uses to communicate with the client.
- Encryption: This is the level of encryption used to secure the VPN connection.
- Username and Password: These are the credentials that clients will use to connect to the VPN.
Click Save to apply the changes.
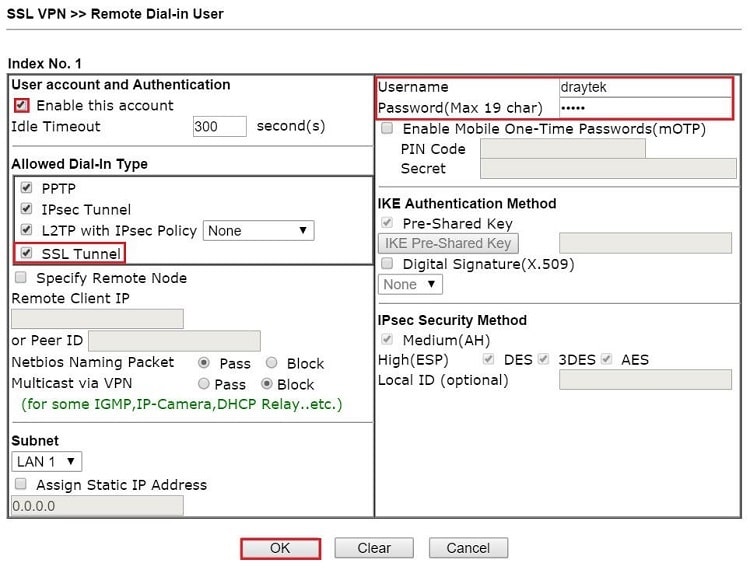
Step 3: Configure the SSL VPN Settings
Navigate to the SSL VPN settings on your router and enter the following information:
- Server IP Address: This is the IP address of your SSL VPN server.
- Port: This is the port number that the SSL VPN server uses to communicate with the client.
- Encryption: This is the level of encryption used to secure the SSL VPN connection.
- Username and Password: These are the credentials that clients will use to connect to the SSL VPN.
Click Save to apply the changes.
Conclusion
Setting up a G Router SSL VPN setup is a crucial step in protecting your home network from potential threats. By following the step-by-step guide outlined above, you can ensure that all devices connected to your network are secure and protected from online threats.


