Perimeter Irrigation Sprinkler System Installation: A Comprehensive Guide
Are you tired of manually watering your lawn and garden, only to see it wither and dry out in the heat of the summer? Installing a perimeter irrigation sprinkler system is a great solution to this problem. Not only will it save you time and water, but it will also ensure that your plants and grass stay healthy and lush throughout the growing season.
What is a Perimeter Irrigation Sprinkler System?
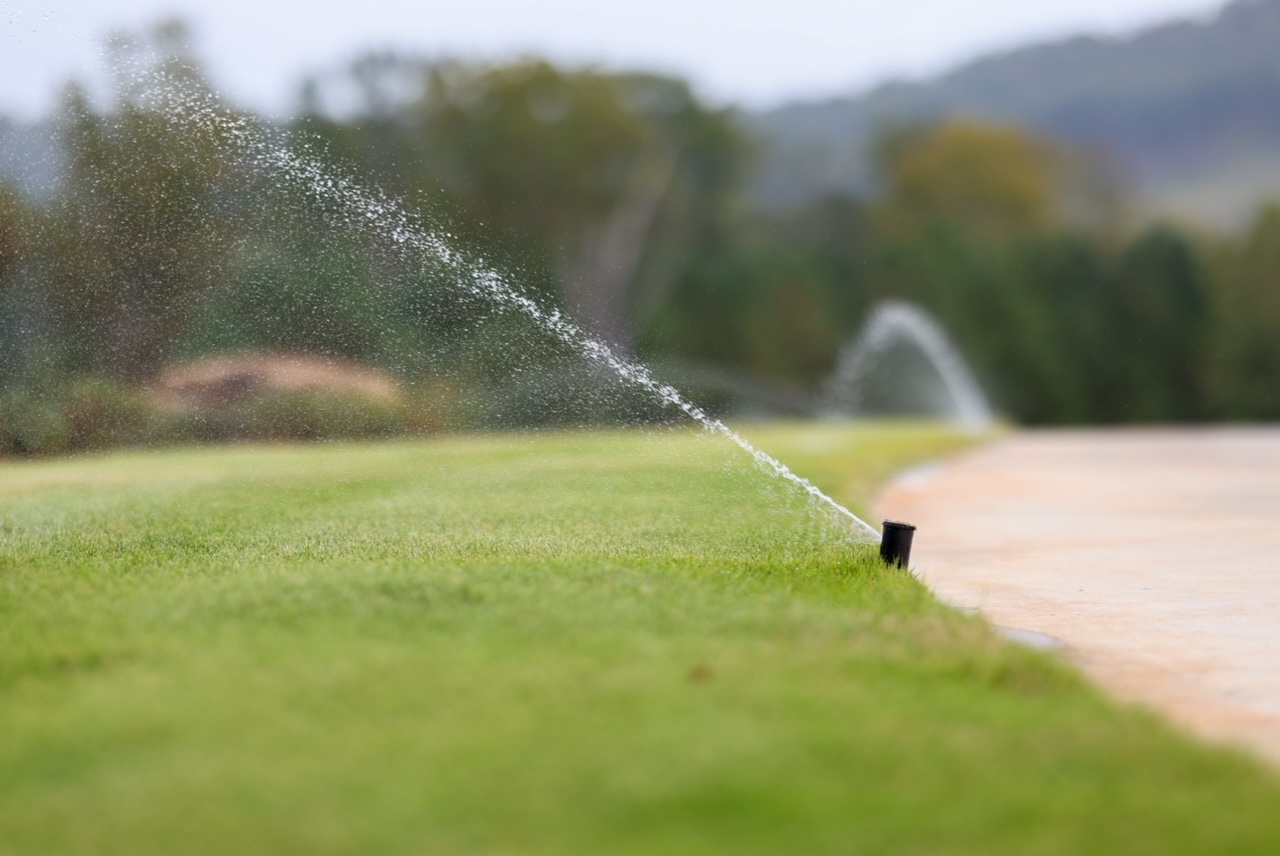
A perimeter irrigation sprinkler system is a network of pipes, valves, and sprinkler heads that waters your lawn and garden on a set schedule. It's typically installed around the perimeter of your property, hence the name. This type of system is designed to provide a precise and efficient way to water your plants, reducing evaporation and runoff while also minimizing waste.
Benefits of a Perimeter Irrigation Sprinkler System
- Water savings: Up to 50% reduction in water usage
- Time savings: Automatic watering means no more manual watering
- Improved plant health: Consistent and precise watering leads to healthier plants
- Increased property value: A well-designed and installed sprinkler system adds value to your property
Planning and Designing Your Perimeter Irrigation Sprinkler System
Before installing your sprinkler system, it's essential to plan and design it properly. This includes:
- Determining the size and shape of the area to be watered
- Choosing the right type of sprinkler heads and valves for your system
- Designing the pipe layout and routing
- Calculating the water pressure and flow rate
Step-by-Step Installation Guide
Here's a step-by-step guide to installing a perimeter irrigation sprinkler system:
Step 1: Dig Trenches
Begin by digging trenches for the pipes, typically 12-18 inches deep and 6-8 inches wide. This will depend on the type of soil and pipes you're using.
Step 2: Lay Pipes
Once the trenches are dug, lay the pipes according to your design plan. Make sure to connect the pipes securely and tightly.
Step 3: Install Sprinkler Heads and Valves
Install the sprinkler heads and valves according to your design plan. Make sure they're securely attached to the pipes and functioning properly.
Step 4: Connect to Water Source
Connect the sprinkler system to your water source, making sure to shut off the main valve before connecting the pipes.
Step 5: Test the System
Turn on the system and test it to ensure it's working properly, adjusting any issues as needed.
Installation Tips and Tricks
Here are some installation tips and tricks to keep in mind:
- Use quality pipes and materials to ensure a long-lasting system
- Design the system to minimize pressure and reduce watering stress
- Use a pressure regulator to ensure consistent pressure throughout the system
- Budget for any additional features, such as timers and sensors
Conclusion
Installing a perimeter irrigation sprinkler system is a great way to save time and water while keeping your plants healthy and lush. By following these steps and tips, you'll be able to create a system that meets your needs and provides years of reliable service.


 - wikiHow")


