Maximize Efficiency and Productivity with Venturi Sprinkler System Installation
Whether you're a seasoned farmer or a gardening enthusiast, a reliable and efficient irrigation system is crucial for optimal crop growth and water conservation. Among the various options available, Venturi sprinkler system installation stands out for its unique benefits, ease of use, and cost-effectiveness. In this article, we will delve into the world of Venturi fertilizers, discussing their operation, installation, and benefits, to help you make informed decisions for your irrigation needs.
How Venturi Fertilizer Injectors Work
The Venturi fertilizer injector is a clever device that harnesses the power of your irrigation system's water flow to create suction, thereby injecting liquid fertilizer into the system. Unlike traditional fertilization methods, which require manual injection or pumping, Venturi injectors rely on the natural pressure differential within the system to create suction, eliminating the need for electricity and providing a virtually maintenance-free experience.
Installation and Plumbing Troubleshooting
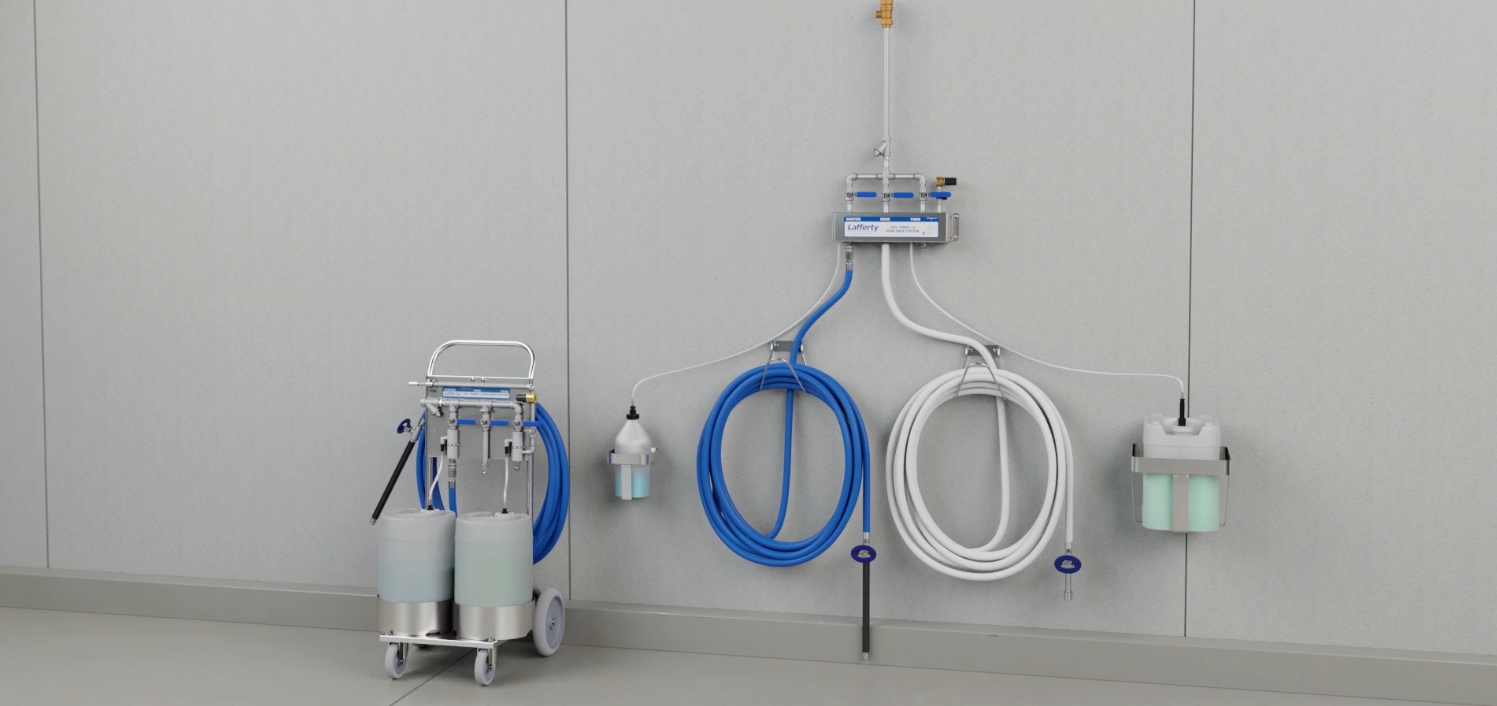
Before installing a Venturi sprinkler system, it's essential to understand the key components involved, including the injector unit, pipes, and valves. Proper installation involves careful planning, trenching, connecting the water source, installing shut-off valves, and working with PVC pipes. Our expert guide will walk you through the steps to ensure a flawless installation process, including troubleshooting common issues that may arise during the process.
- Step 1: Determine Your System Requirements Calculate the total pressure loss and flow rate across the system to ensure your Venturi injector is compatible with your current setup.
- Step 2: Choose the Right Injector Select a Venturi system specifically designed for your type of irrigation (e.g., drip, sprinkler, or gap irrigation) and fertilizer type.
- Step 3: Prepare Your Pipes and Valves Ensure your pipes and valves are compatible with the Venturi injector and locked in a fixed position to prevent water loss during the installation process.
- Step 4: Connect Valves, Tubes, and Venturi Device Properly connect the components to avoid damage to the system and potential leaks.
- Step 5: Test and Calibrate Your System Verify the proper operation of the Venturi sprinkler system and adjust the system to the most optimal settings for fertilization.
Benefits of Venturi Sprinkler System Installation
A Venturi sprinkler system offers numerous benefits, including:
- Efficient Fertilization – precision fertilization increases yields while reducing the risk of fertilizer burn and runoff.
- Reliability – with no moving parts, the Venturi system is highly robust and requires minimal maintenance.
- Cost-Effectiveness – eliminates the need for additional pumps, hoses, or other equipment, making it an economical choice.
- Easy Installation – fewer mechanical components reduce installation time and hassle.
- Wide Application Range – suitable for various irrigation systems, from drip irrigation to large-scale sprinkler systems.
Conclusion
Installing a Venturi sprinkler system can revolutionize your irrigation routine, offering unparalleled efficiency, productivity, and reliability. By understanding how Venturi injectors work, ensuring proper installation, and getting the right equipment for your needs, you'll be well on your way to maximizing crop yields, reducing labor costs, and being kind to the environment. Make the most of your irrigation potential today with Venturi Sprinkler System Installation.
Additional Resources
For more information on Venturi sprinkler system installation, including expert guides, instructional videos, and top-rated suppliers, check out these additional resources:
- Shop top-quality sprinkler & irrigation supplies at Spaces.
- Learn from expert guides and tutorials on Instructables.
- Join online forums and Q&A sessions at the Irrigation Systems StackExchange community.


