Setup G Router with Guest Network: A Comprehensive Guide
Are you tired of sharing your primary Wi-Fi password with guests and risking the security of your network? Setting up a guest network on your router is a simple and effective way to provide internet access to visitors while keeping your main network secure. In this article, we will walk you through the steps to setup a guest network on your G router and explore its benefits.
Benefits of Setting Up a Guest Network
Setting up a guest network offers several benefits, including:
- Improved security: By isolating your guest network from your main network, you prevent unauthorized access to your devices and sensitive data.
- Increased convenience: A guest network allows you to provide internet access to visitors without sharing your primary Wi-Fi password.
- Enhanced privacy: With a guest network, you can control which devices and users have access to your network, reducing the risk of unauthorized data collection.
Requirements for Setting Up a Guest Network
To set up a guest network, you will need:
- A compatible G router that supports guest networking.
- A stable internet connection.
- A computer or mobile device with a web browser.
Step-by-Step Guide to Setting Up a Guest Network
Follow these steps to set up a guest network on your G router:
Step 1: Access Your Router's Settings
Open a web browser and type the IP address of your router in the address bar. The default IP address for most routers is 192.168.0.1 or 192.168.1.1. Log in with your administrator credentials.
Step 2: Enable Guest Networking
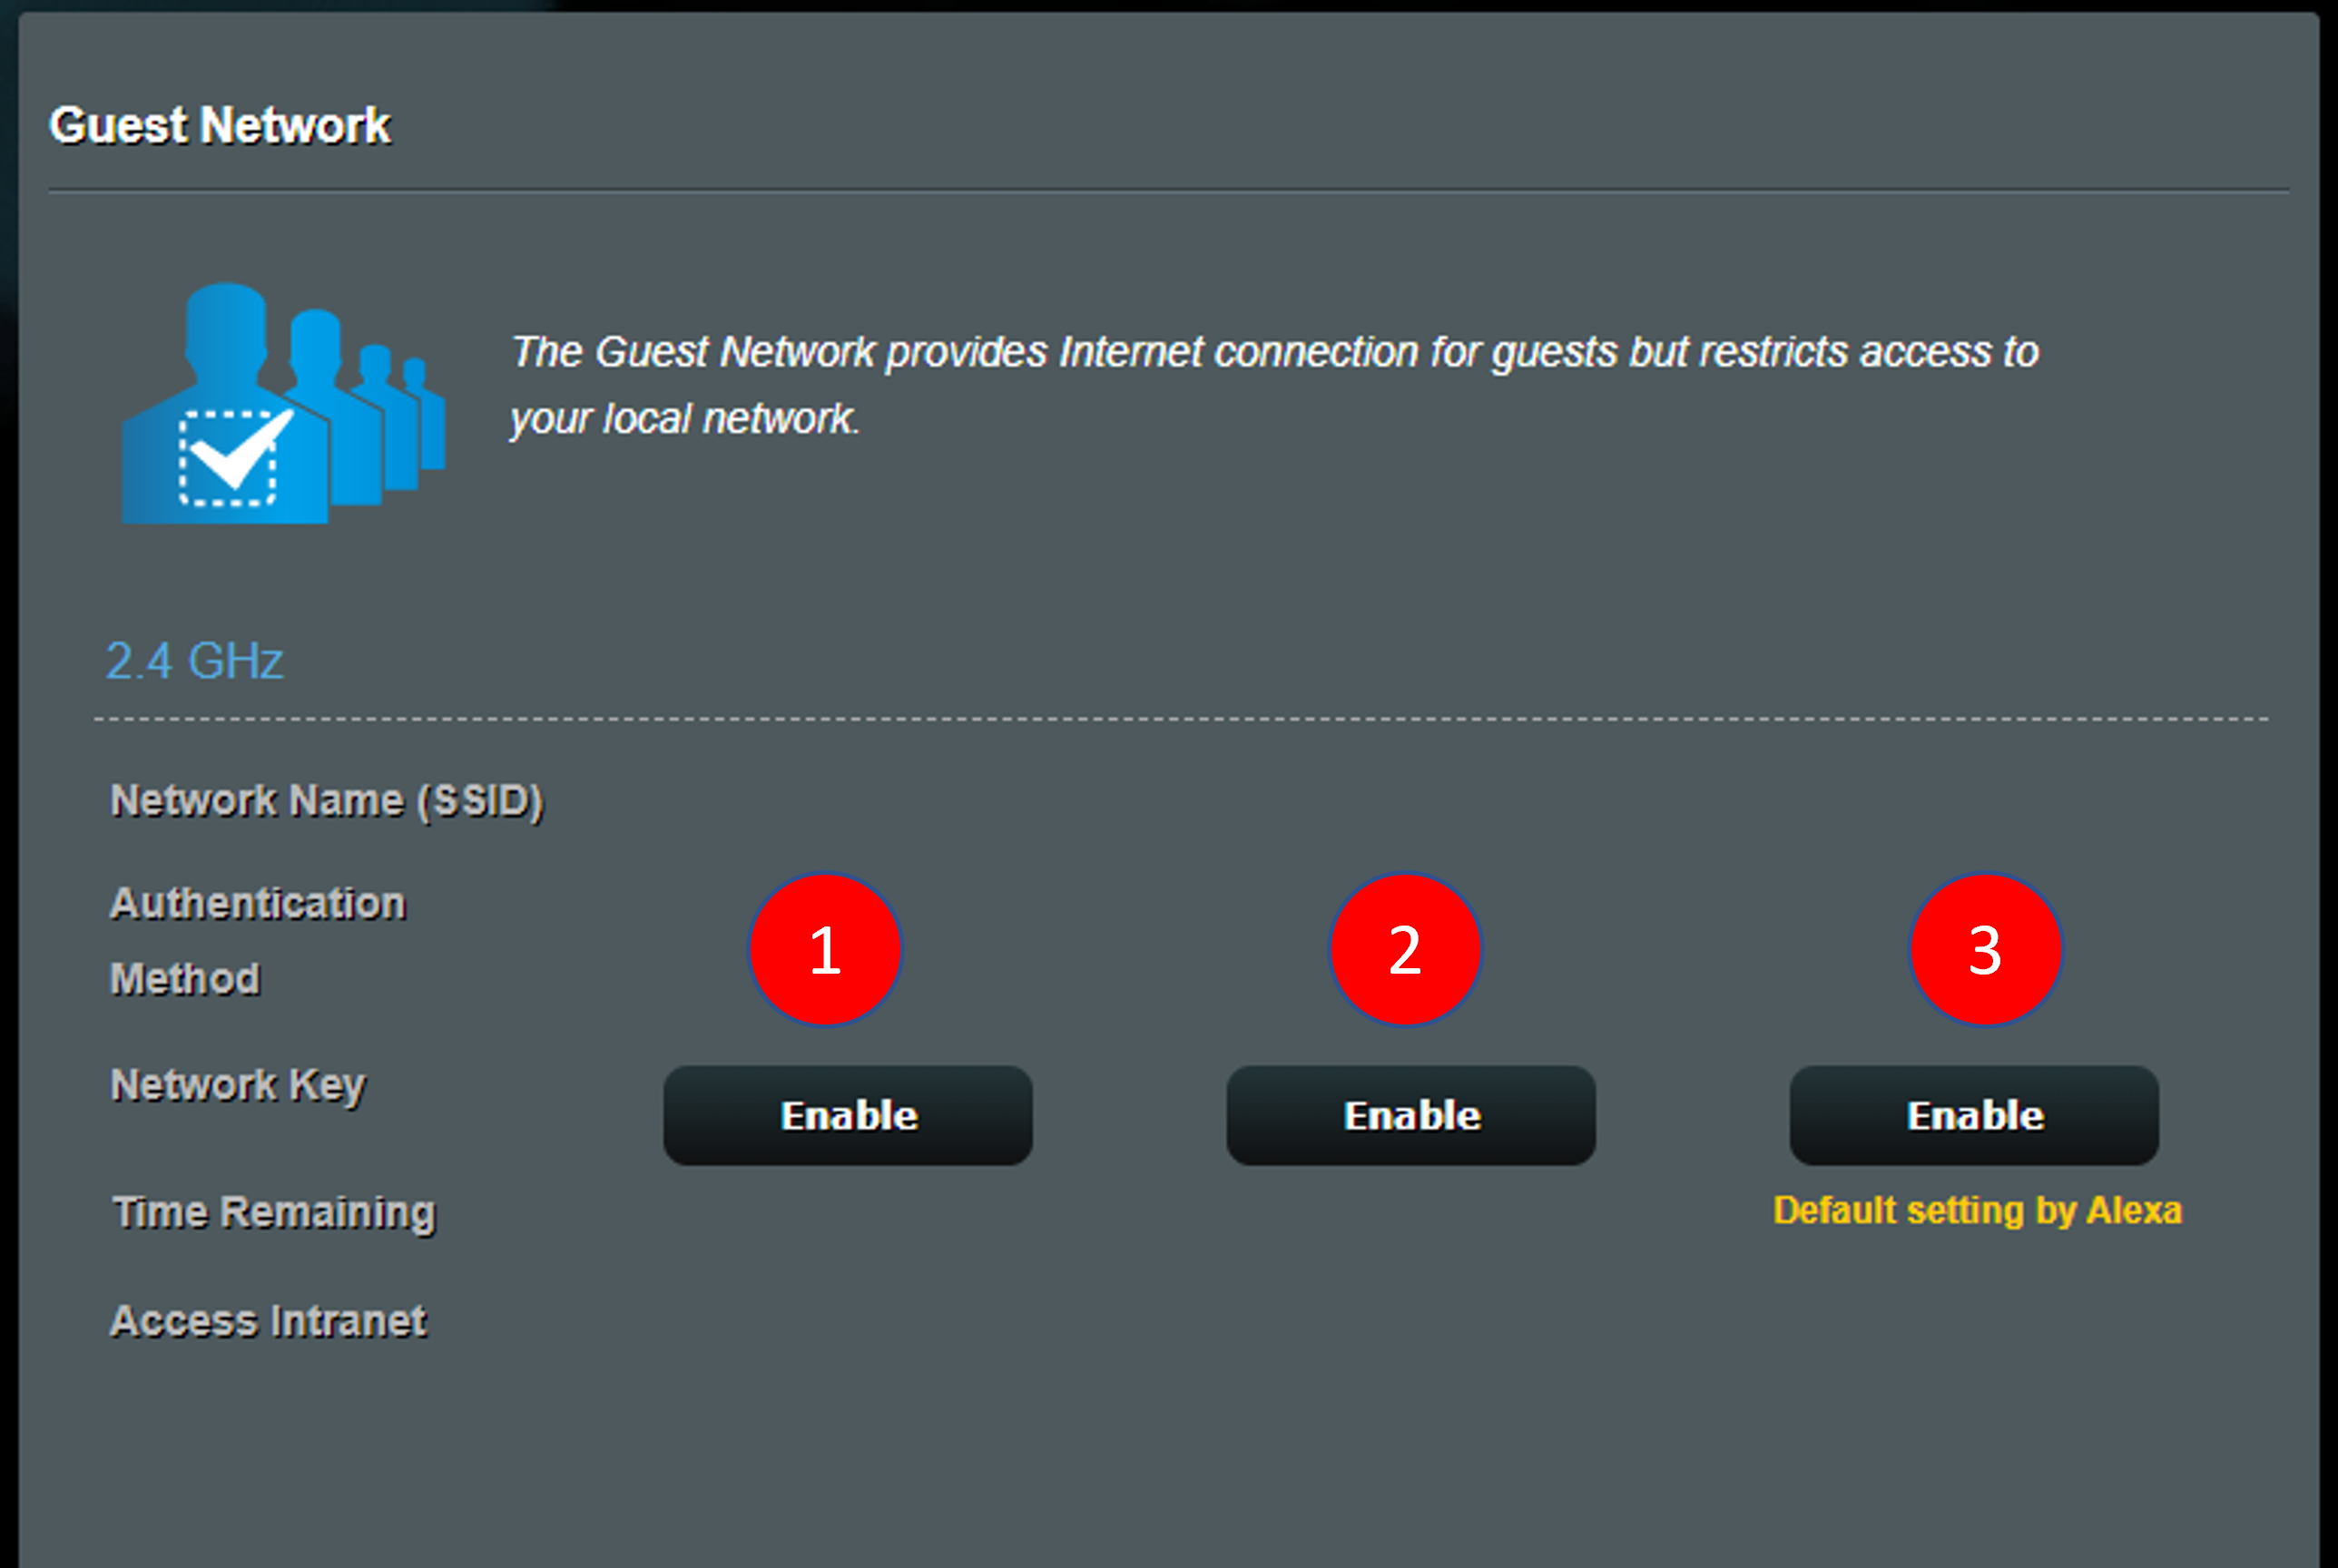
Look for the guest networking option in your router's settings. It may be labeled as "Guest Network" or "Isolate Guests." Enable this feature and configure the settings as desired.
Step 3: Set Up the Guest Network
Configure the guest network settings, including:
- SSID (network name)
- Password (Wi-Fi password)
- Band (2.4 GHz or 5 GHz)
- Authentication (WPA2-PSK or WPA3)
Step 4: Save Changes and Restart Your Router
Save the changes to your router's settings and restart your router. Your guest network should now be up and running.
Configuring Advanced Settings for Your Guest Network
For advanced users, you can configure additional settings for your guest network, such as:
- MAC address filtering
- QoS (Quality of Service) settings
- Firewall settings
Conclusion
Setting up a guest network on your G router is a simple and effective way to improve security, convenience, and privacy for both hosts and guests. By following the steps outlined in this article, you can create a secure and isolated network for your visitors, while keeping your main network safe from unauthorized access. Happy setting up!


![[Guest Network Pro] How to set up Guest Network? - ASUS](https://i.ytimg.com/vi/q-hAH1AfgEo/maxresdefault.jpg "[Guest Network Pro] How to set up Guest Network? - ASUS")


