Remote Control Attic Fan Installation: A Comprehensive Guide
Are you tired of sweltering summers and high energy bills? Installing a remote control attic fan can be a game-changer for your home. Not only does it provide excellent ventilation and cooling, but it also offers the convenience of remote control operation. In this article, we'll take you through the process of installing a remote control attic fan, covering everything from preparation and selection to wiring and troubleshooting.
Preparation and Selection
Before you start the installation process, it's essential to prepare your attic and select the right fan. Here are some steps to follow:
- Determine the size of your attic and choose a fan that's suitable for your space.
- Select a fan with a remote control feature to enjoy the convenience of operation from anywhere in your home.
- Choose a fan that's designed for your climate and attic conditions.
- Make sure to purchase a fan that's UL-listed and meets local building codes.
Installation Steps
Installing a remote control attic fan requires some basic tools and electrical knowledge. Here's a step-by-step guide to help you through the process:
- Shut off the power to your attic at the main electrical panel.
- Remove the old fan (if applicable) and any existing wiring.
- Measure and mark the location of the new fan's mounting bracket.
- Install the fan's mounting bracket and secure it to the attic floor.
- Connect the fan's wiring to the electrical panel and ensure it's properly grounded.
- Install the remote control receiver and ensure it's properly connected to the fan's wiring.
- Test the fan and remote control to ensure everything is working properly.
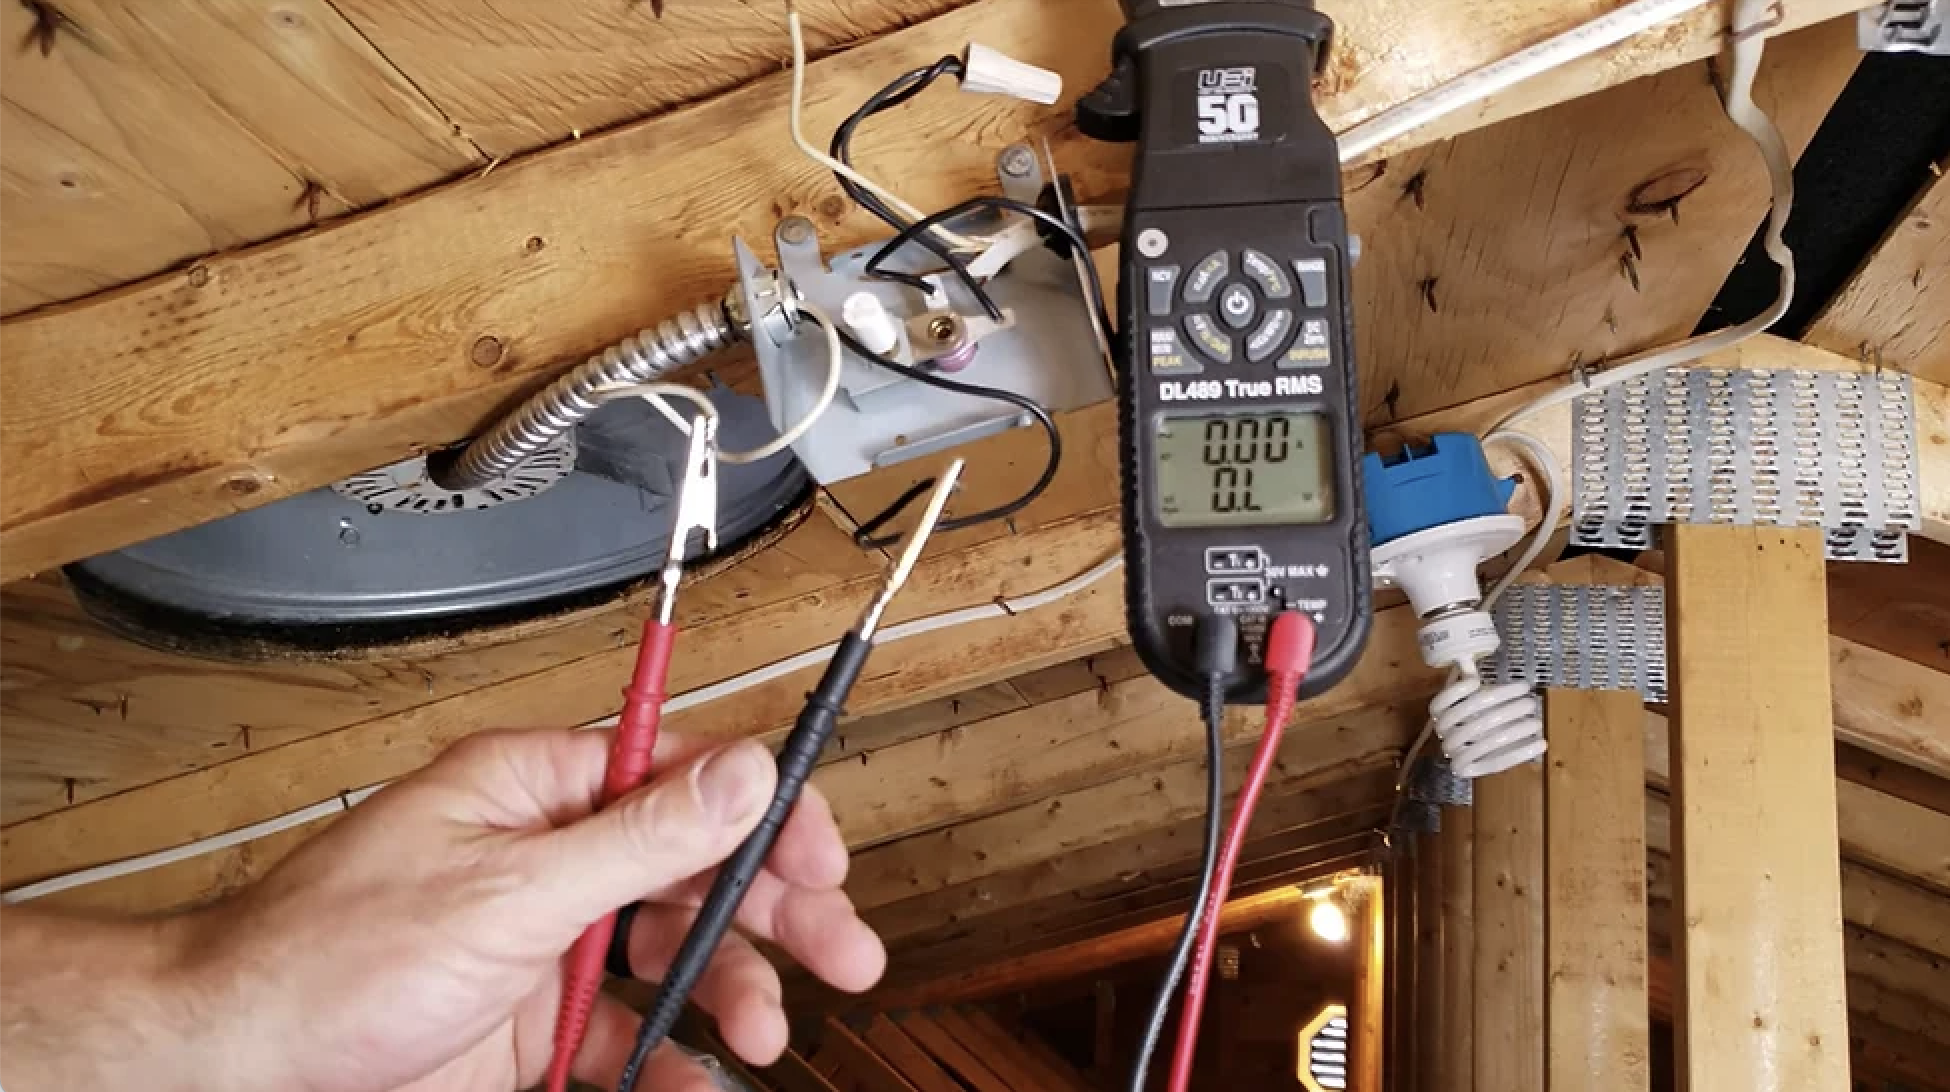
Wiring and Troubleshooting
Wiring a remote control attic fan requires attention to detail and safety precautions. Here are some tips to keep in mind:
- Use the correct wiring diagram for your fan and remote control.
- Ensure all wiring is properly insulated and secured.
- Test the wiring for continuity and proper function.
- Troubleshoot any issues with the fan or remote control.
Benefits of Remote Control Attic Fan Installation
Installing a remote control attic fan offers numerous benefits, including:
- Improved ventilation and cooling.
- Convenience of remote control operation.
- Energy efficiency and cost savings.
- Improved home comfort and air quality.
Conclusion
Installing a remote control attic fan is a relatively simple process that requires some basic tools and electrical knowledge. By following the steps outlined in this guide, you'll be able to enjoy the benefits of improved ventilation, cooling, and energy efficiency. Remember to always follow safety precautions and local building codes to ensure a successful installation.
Additional Resources
If you're not comfortable with DIY installation or have any questions, consider consulting a licensed electrician or the manufacturer's installation guide. Some popular remote control attic fan models include the QuietCool Smart Attic Fan Control and the VEVOR Solar Attic Fan.
Product Recommendations
Here are some popular remote control attic fan models to consider:
- QuietCool Smart Attic Fan Control
- VEVOR Solar Attic Fan
- 15" Gable Mount Vent Attic Fan
- VIVOHOME Register Booster Fan
Final Thoughts
Installing a remote control attic fan is a great way to improve your home's ventilation, cooling, and energy efficiency. With this comprehensive guide, you'll be able to navigate the installation process with confidence. Remember to always follow safety precautions and local building codes to ensure a successful installation.


