Installing a G Router on Your Network: A Step-by-Step Guide
Are you looking to upgrade your home network with a G router? Installing a G router on your network can be a straightforward process if you follow the correct steps. In this article, we will guide you through the entire process of installing a G router on your network, from unboxing to setting up your network.
Step 1: Unboxing and Inspecting the G Router
Once you receive your G router, carefully unbox it and inspect the device for any damages or missing components. Make sure you have all the accessories included, such as the power cord, Ethernet cable, and user manual.
Step 2: Choosing a Location for Your G Router
When it comes to choosing a location for your G router, consider a spot that is central to your home and away from obstacles and interference sources, such as cordless phones, microwaves, and other electronic devices. Ensure that the area is well-ventilated to prevent overheating.
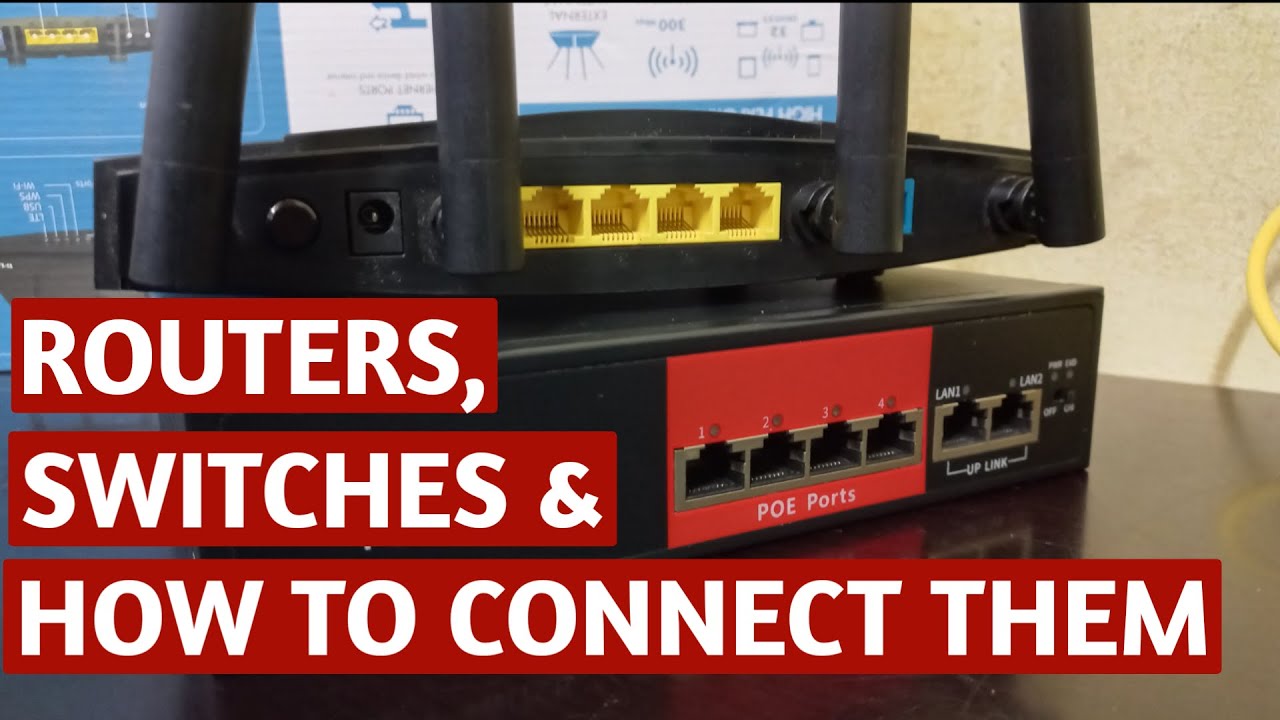
Step 3: Connecting the G Router to the Modem
Next, connect one end of the Ethernet cable to the modem and the other end to the G router's Ethernet port. Make sure the connection is secure and not loose, as this can cause connectivity issues. If you have a dual-band or tri-band router, connect the Ethernet cable to the primary band.
Step 4: Powering On the G Router
Plug in the power cord and turn on the G router. Allow the device to boot up and complete the initialization process, which may take a few minutes. If the lights on the router are blinking or pulsing, it's a sign that the device is booting up.
Step 5: Connecting to the G Router Network
Once the G router is powered on, use a device such as a laptop or smartphone to connect to the router's network. Use the default Wi-Fi network name and password printed on the router's label to establish a connection.
Step 6: Configuring the G Router Settings
After connecting to the router's network, open a web browser and navigate to the G router's configuration page. Log in using the admin credentials provided in the user manual or on the label. Change the password and network name to secure your network. Set up your router's advanced features, such as Quality of Service (QoS) and port forwarding, as per your requirements.
Step 7: Testing Your Network Connection
Once you have configured the G router settings, test your network connection by streaming a video, transferring files, or browsing the internet. Ensure that your devices are connecting to the correct network and receiving a stable and fast connection.
Conclusion
Installing a G router on your network can improve your internet speeds and connectivity. Following the steps outlined in this guide will ensure that your G router is installed correctly and configured to provide a stable and fast network connection throughout your home.
Frequently Asked Questions
- What is the best location for my G router?
- How do I connect my G router to the modem?
- What should I do if my G router is not connecting to the internet?
- How do I configure the G router settings?
A central location, away from obstacles and interference sources, is recommended.
Use an Ethernet cable to connect the modem to the G router's Ethernet port.
Check the Ethernet cable connection, ensure the router is powered on, and restart the router if necessary.
Access the router's configuration page using a web browser and log in using the admin credentials. Change the password and network name, and set up advanced features as per your requirements.
Additional Resources
- Google Wifi Self-Install Kit: A step-by-step guide to setting up your Google Wi-Fi router.
- Starlink Mini: A compact, portable kit that provides high-speed, low-latency internet on the go.
- Troubleshoot your Internet Gateway XC46BE router: Learn what the LED lights mean and how to reset the router.


 Self-Install Kit")


![[SOLVED] Tailscale funnel something is already listening port 443](https://kb.netgear.com/resource/1658125676000/kbchat/images/model-number-popup/NRouter_Lbl_Agile_1.jpg "[SOLVED] Tailscale funnel something is already listening port 443")
