Solid Wood Flooring Installation: A Comprehensive Guide
Solid wood flooring has been a popular choice for homeowners for centuries, offering a timeless and elegant appeal to any room. Not only does it add warmth and character, but it also increases the value of your home. However, installing solid wood flooring can be a daunting task, especially for those who are new to DIY projects. In this comprehensive guide, we will walk you through the process of installing solid wood flooring, covering preparation, layout, cutting, and fastening.
Preparing the Subfloor
The first step in installing solid wood flooring is to prepare the subfloor. This involves checking for any irregularities, such as unevenness, cracks, or moisture damage. It's essential to correct any problems before proceeding, as they can cause hollow spots between the floor and subfloor during installation. To ensure a solid and secure installation, make sure the subfloor is level, clean, and dry.
Materials Needed:
- Solid wood flooring planks
- Underlayment material (optional)
- Flooring nails or staples
- Wood glue (optional)
- Drying time-wax pen
Once the subfloor is prepared, it's time to lay out the flooring. Start by measuring the room and determining the number of planks needed. Use a chalk line to mark the center point of the room, and then snap a line along the length of the room to guide your installation. This will help you achieve a uniform and symmetrical look.
Tools Needed:
- Chalk line
- Tape measure
- Pencil and marker
- Level
Cutting and Fitting
With the layout complete, it's time to begin cutting and fitting the planks. Use a miter saw or circular saw to cut the planks to size, taking care not to damage the edges or corners. As you fit the planks together, use a tapping block to gently tap them into place, ensuring a snug fit.
Tools Needed:
- Miter saw or circular saw
- Tapping block
- Hand saw or jigsaw (optional)
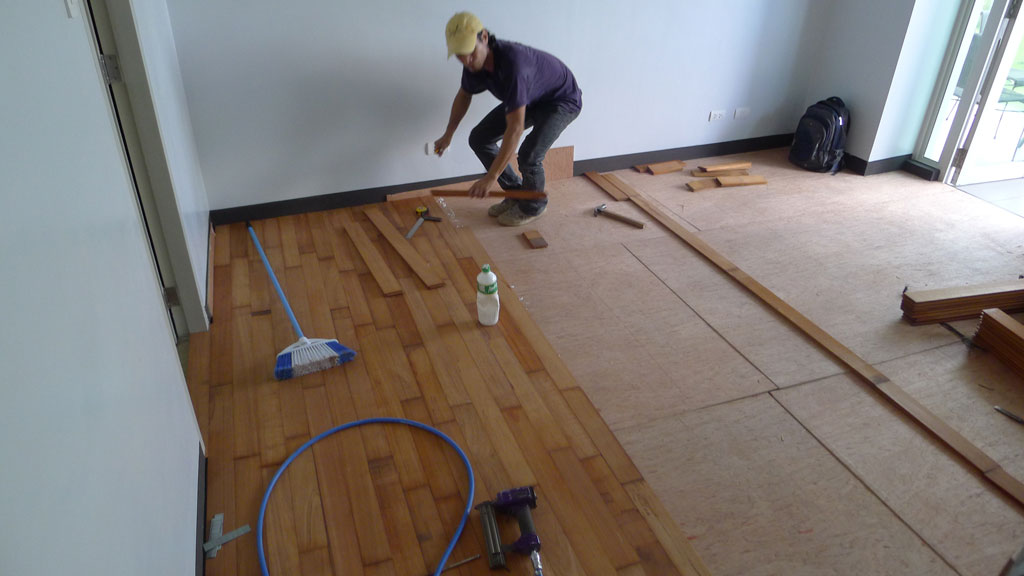
Fastening and Securing
Once the planks are in place, it's time to fasten and secure them. Use flooring nails or staples to attach the planks to the subfloor, making sure to space them evenly apart. For added security, use wood glue to fill in the gaps between the planks.
Tools Needed:
- Hardwood flooring nails or staples
- Wood glue (optional)
- Claws and hammer
Finishing Touches
The final step in installing solid wood flooring is to apply a finish. Use a drying time-wax pen to apply a coat of wax or oil, allowing it to dry completely before applying additional coats. This will help protect the wood from scratches and spills, ensuring it remains beautiful for years to come.
Tools Needed:
- Drying time-wax pen
- Wax or oil
- Applicator or lambswool
Conclusion
Installing solid wood flooring requires patience, attention to detail, and a willingness to learn. By following the steps outlined in this guide, you can achieve a beautiful and professional-looking installation that will last for years to come. Remember to always follow safety guidelines and take your time, as rushing through the installation process can lead to mistakes and costly repairs.
Get Expert Hardwood Flooring Installation Tips
For more information on solid wood flooring installation, including planning, tools, and aftercare, visit our website or consult with a professional installation contractor. At [Your Company Name], we offer expert guidance and installation services to help you achieve the perfect hardwood floor for your home. Contact us today to schedule a consultation and take the first step towards transforming your space with stunning solid wood flooring.


")
:max_bytes(150000):strip_icc()/installing-hardwood-floor-170040982-582b748c5f9b58d5b17d0c58.jpg "7 Hardwood Installation Methods Comparison That Pros Don't Share")


")

 | Floor & Decor")


